
Two renderings of the same scene. The left one uses one sample per pixel, resulting in jagged edges. The right one uses 9 samples per pixel, resulting in much smoother edges.
In this project, we will sample multiple points on the image plane for each pixel. The resulting colors for each of these points will be averaged to yield the final color of that pixel.
Two renderings of the same scene. The left one uses one sample per pixel, resulting in jagged edges. The right one uses 9 samples per pixel, resulting in much smoother edges.
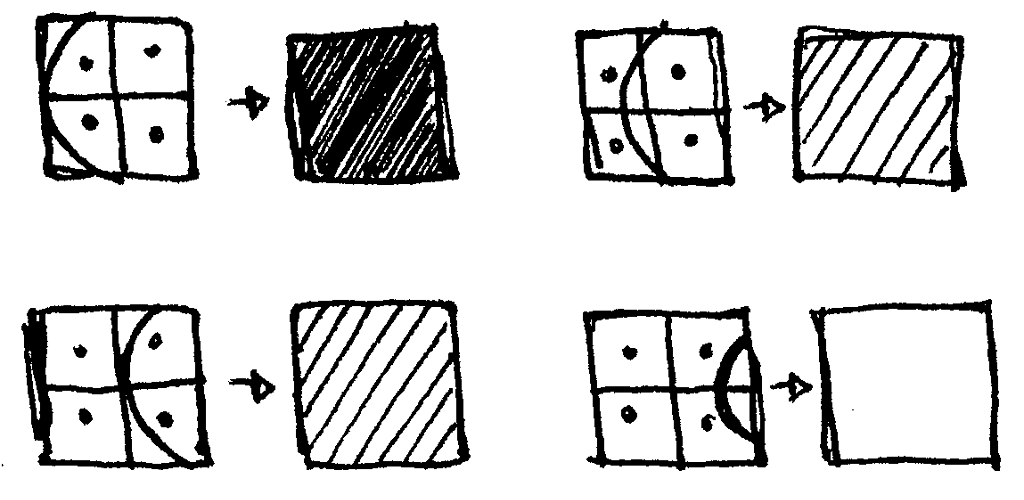
Suppose you cast a ray from the camera to a point on the image plane, corresponding to a particular percentage `alpha` in the horizontal direction. Let's also say that `alpha` increases by `Delta alpha` from one pixel to the next, that is the next pixel corresponds to a percentage of `alpha + Delta alpha`. Exercise: how do you calculate `Delta alpha`?
Now, instead of only finding a point `vec bbp` on the image plane corresponding to `alpha`, find two points corresponding to `alpha` and `alpha + {Delta alpha}/2`. Similarly, vary `beta`, finding a point corresponding to `beta` and `beta + {Delta beta}/2`. Combining the variation in `alpha` and `beta` will give you four points in total.
Exercise: how would you find 9 points per pixel instead? How about 6 points?
For each of the calculated points for a single pixel, apply the usual ray tracing algorithm. Then, add up the results and divide by the number of points sampled for that pixel. This value is the color of that pixel.
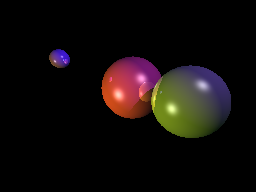
Sampling multiple times per pixel allows smoother transitions between visible and not visible.