Dec 31, 2018 • Avik Das
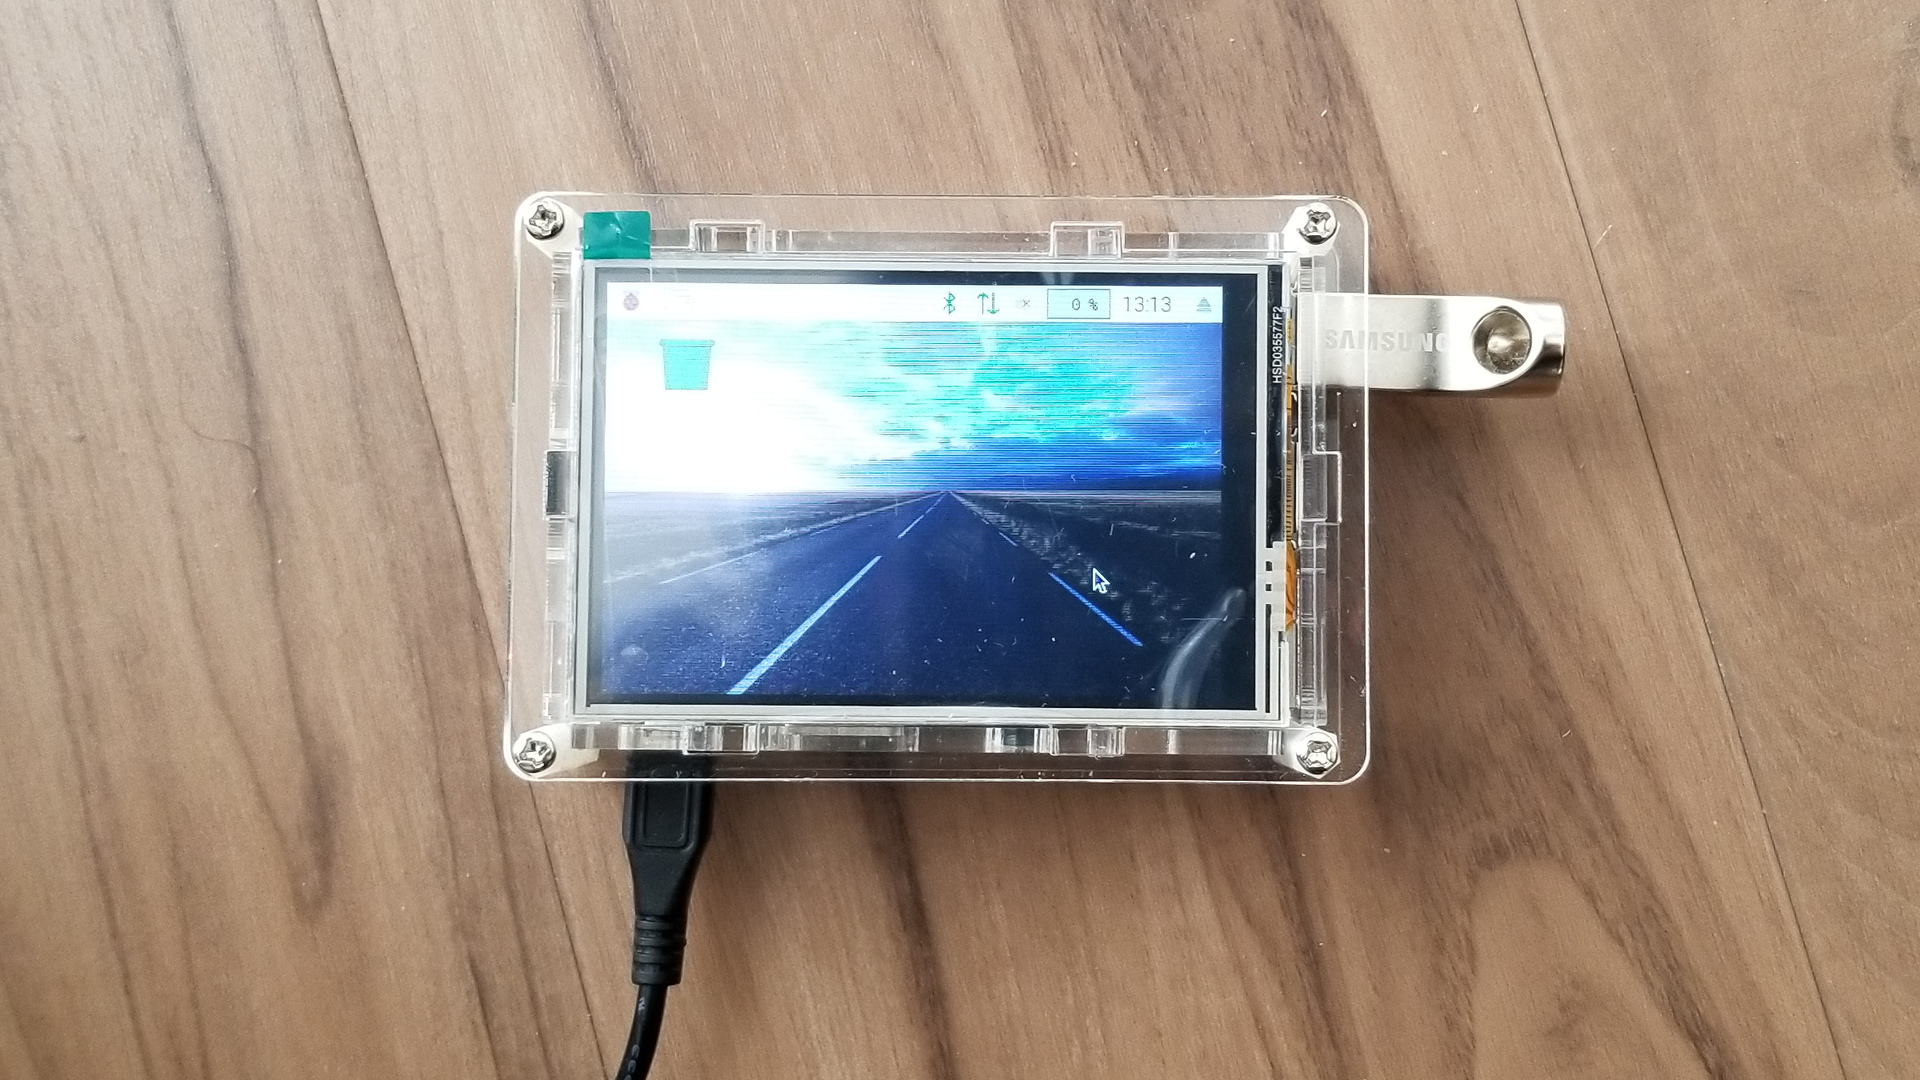
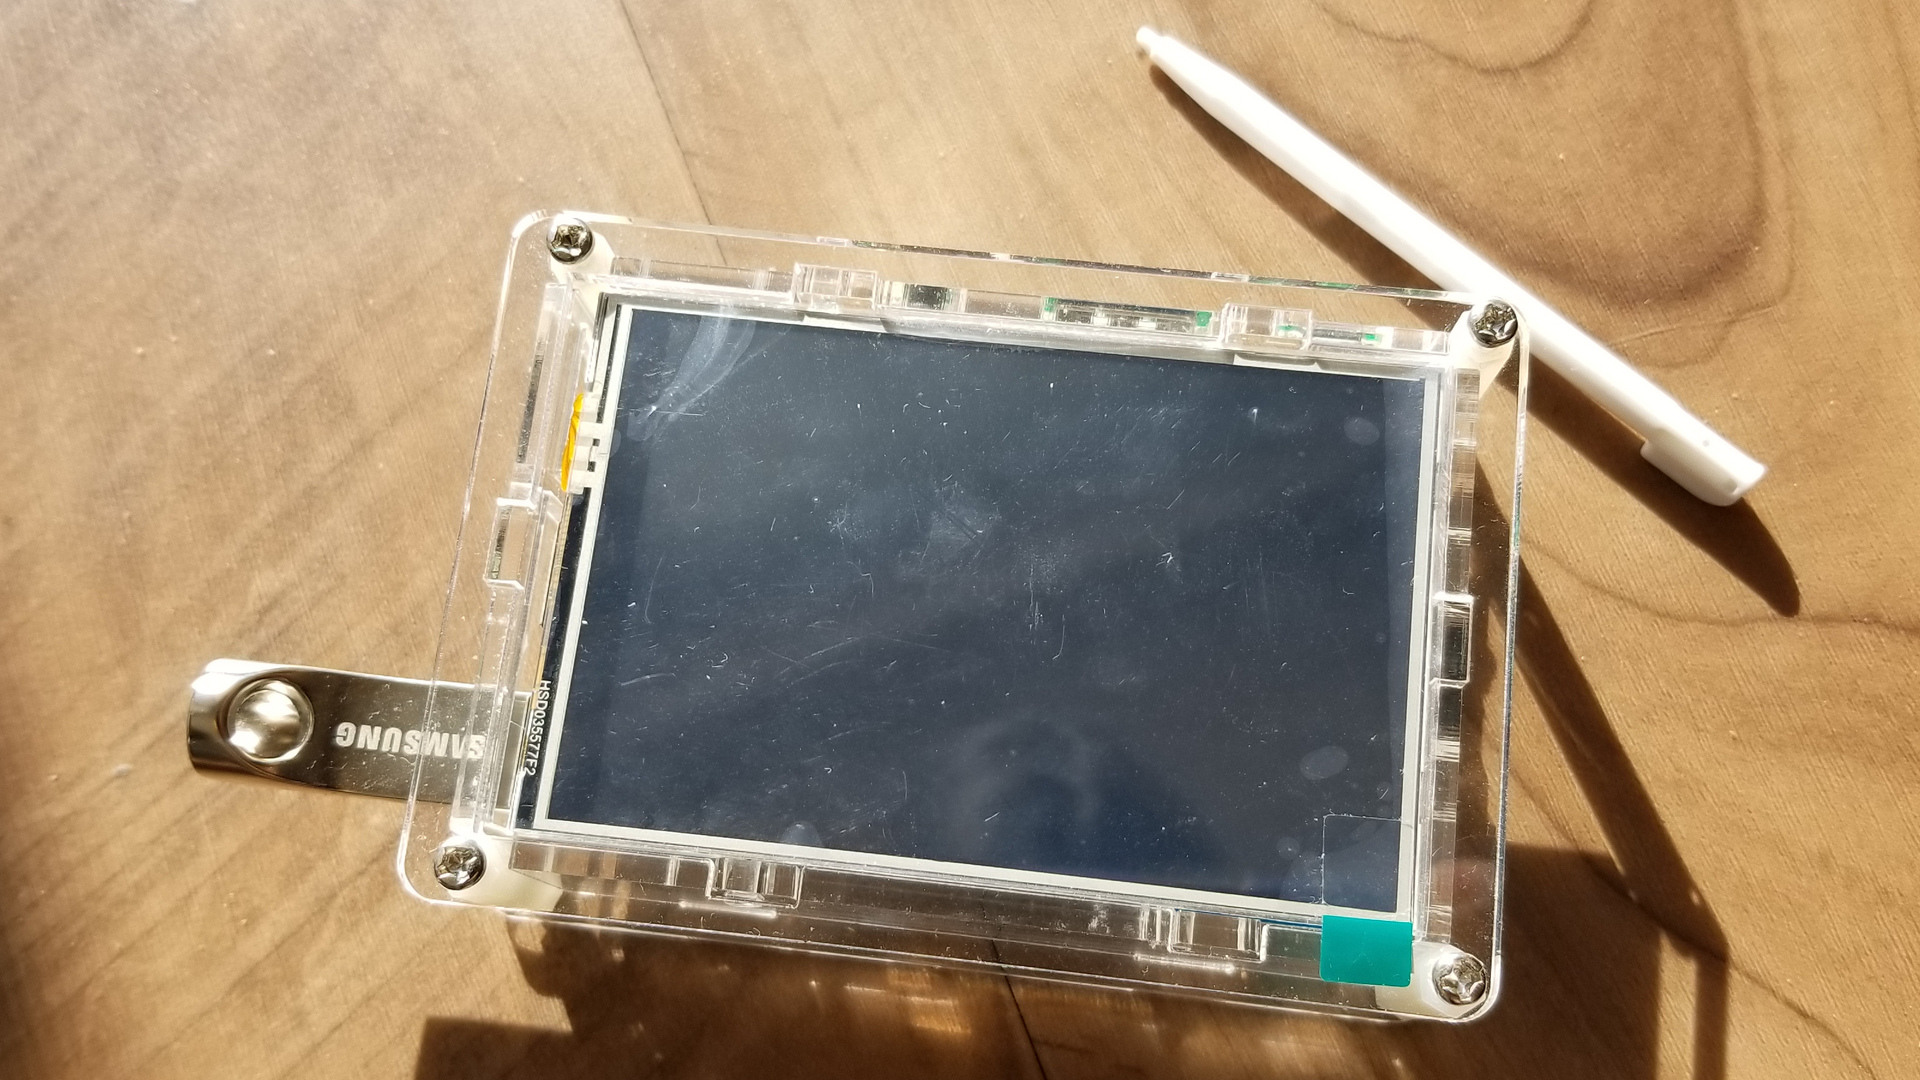
I recently bought a 3.5” TFT touchscreen display for my Raspberry Pi. The display connects via the GPIO pins and fits neatly onto the form factor of the Raspberry Pi 3. The idea was to add a GUI application onto the Pi, which had until now been acting as a headless web and application server.
The installation of the hardware was straightforward, but setting up the Pi to display onto the new LCD didn’t go so well. It turns out this LCD, and many similar ones, ask you to enable the LCD via scripts in the LCD-show project. On my first attempt, I simply ran the relevant script (LCD35-show) as requested, but I ended up not being able to connect to my WiFi anymore!
I found out the scripts mess with a number of system files, overwriting configurations that are integral to the operation of the Pi. The overwritten files are based on the ones provided by Raspbian, so ideally not much should be changing. However, the new files are based on older versions of Raspbian. Additionally, the scripts do much more than they need to.
As a second attempt, I read through the script and applied the changes manually based on my understanding of what was needed to enable the LCD. Below are my notes taken during the process.
Each of the following steps is based on a set of commands in the original script. For reference, here’s the LCD35-show script I used, in the state it was in at the time of writing. The files to copy over are in the same repository, so start by cloning the directory onto your Raspberry Pi:
# If you don't have git, you can download the files directly
# from Github
git clone https://github.com/goodtft/LCD-show.git
cd LCD-show
In the original script, the same file is copied over under two different names. In the next step (“Enable interfaces”), the .dtbo file is referenced, albeit without the file extension, so only that file should be required.
The file does not exist in the /boot/overlays directory, so it’s safe to copy it over.
sudo cp ./usr/tft35a-overlay.dtb /boot/overlays/tft35a.dtbo
A particular boot config file is copied over. The changes are minimal, and to avoid making unexpected changes, the changes should be made manually.
# Don't run. See notes below to make changes manually.
# sudo cp ./boot/config-35.txt /boot/config.txt
Using raspi-config, enable the following interfaces:
Edit: Reddit user farptr points out that SPI is the one used for driving the display, and the I²C interface is used for the touchscreen. I experimented with the interfaces, and in my case, only SPI was required for both the display and touchscreen functionality. I recommend turning these interfaces on one by one in to see which ones your display needs.
Uncomment the line that says:
# uncomment if hdmi display is not detected and composite is being output
#hdmi_force_hotplug=1
Finally, enable the overlay from the previous step by adding the following line at the end. I like to add a comment to remind myself of where the overlay comes from and why it needs to be applied:
# Enable the TFT LCD by applying the appropriate boot overlay. This overlay is
# provided by the LCD-show project and must be copied over to the /boot/overlay
# directory.
#
# See: https://github.com/goodtft/LCD-show
dtoverlay=tft35a
As a side note, the dtoverlay line can include a rotation parameter. It turns out the default value is 90°, and since I wanted to use display upside down, I changed the rotation to 270°:
dtoverlay=tft35a:rotate=270
At this point, you can verify no further changes need to be made by diffing the now altered config.txt with the reference one that was supposed to be copied over:
diff /boot/config.txt ./boot/config-35.txt
There will still be some differences, but they are only in the ordering of lines and in comments. (And possibly the rotation parameter if you included one.)
This file is used to pass arguments to the kernel prior to initialization. The original script uses the presence of partition #7 on the SD card (/dev/mmcblk0p7) to determine if we’re running NOOBs or not. If we’re not, we’d be copying over the standard cmdline.txt file, and if we are, the following section still applies.
# Don't run. See notes below to make changes manually.
# sudo cp ./usr/cmdline.txt /boot/
We don’t actually want all of the changes, so we’ll make the following changes:
Add the following options (all on the same line):
fbcon=map:10 fbcon=font:ProFont6x11
I’m not sure what exactly the first option does, but it’s the main change required to show the console on the LCD. Perhaps the font-related option is not necessary, but again, I don’t know.
In particular, we don’t want to make the following changes:
Leave the console=serial0,115200 option as is. The reference file changes serial0 to ttyAMA0.
The Raspberry PI has two UARTs, and ttyAMA0 refers to one of them. However, the primary UART differs based on the Raspberry Pi model (namely based on if the model comes with built-in Bluetooth and WiFi). serial0 can be used to reference the primary one for the current model.
Leave the root option as is. The reference file specifies /dev/mmcblk0p2 as the root partition, but newer versions of Raspbian refer to the root partition by a UUID. In fact, this is the difference between the non-NOOBS and NOOBS version of the reference file, so simply avoiding this change means you don’t have to worry about which distribution you’re using.
Don’t remove the fsck.repair=yes option. This is unrelated to the LCD, which is why we won’t bother removing the option.
Don’t add the logo.nologo option. Again, this is unrelated to the LCD, so if you want to keep the default behavior, there’s no need to remove the logo.
At this point, the TFT LCD is set up. If you just want a display for the console, you can reboot.
sudo reboot
If you want to set up the touchscreen with X, read on instead of rebooting.
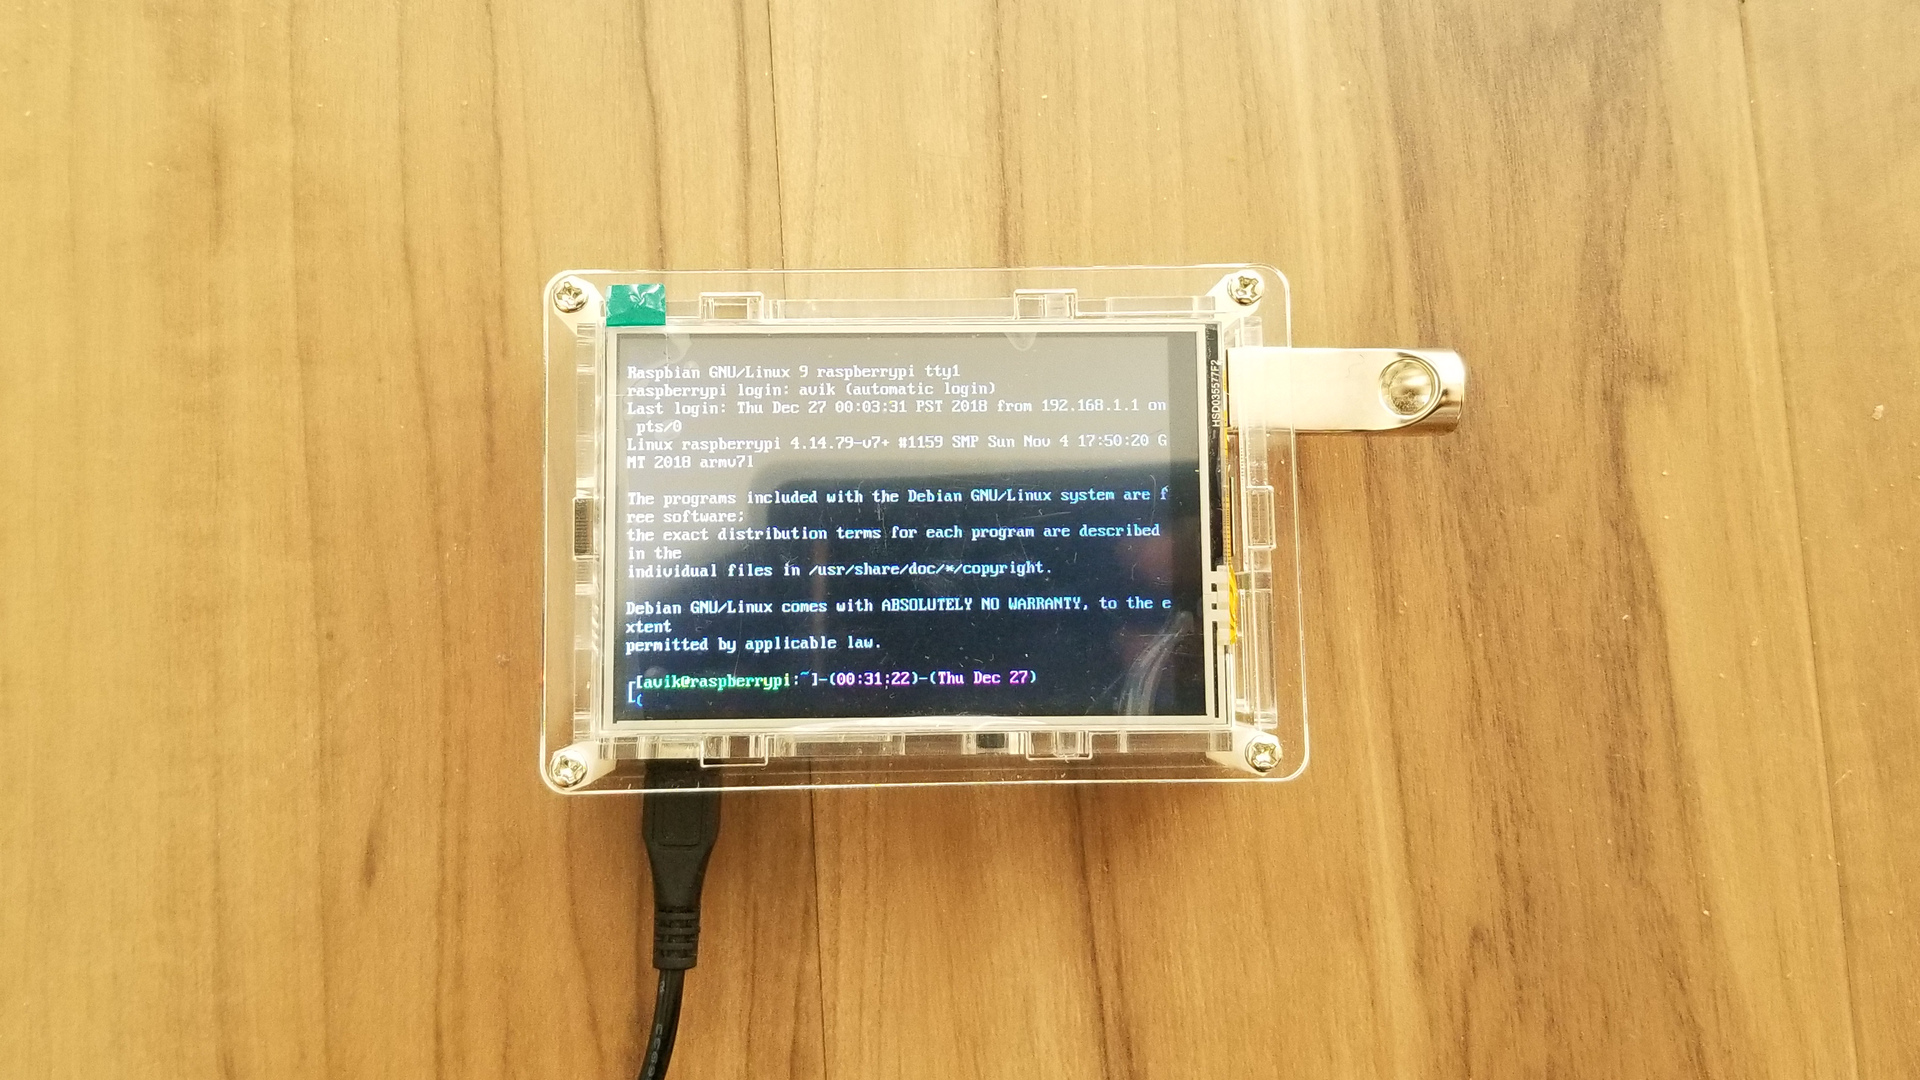
I had installed Raspbian minimal because I didn’t need a GUI before. However, the LCD-show scripts assume you have X installed. As we can see above, the LCD actually works without X.
The touchscreen works as well, and it’s even possible to display a GUI without X, but it’s not trivial to do so. The easier option is to install a full desktop environment, then build a regular GUI application. I’ll write up an article about building touch-enabled GUI applications without X in the future.
The most straightforward route is of course to install a Raspbian image with the PIXEL desktop already installed. But, if you already installed the minimal image, install the following packages:
sudo apt install lightdm              # the graphical login page
sudo apt install raspberrypi-ui-mods  # the desktop environment (PIXEL)
To make it easier to work with the desktop environment, you can set the Pi to boot up in desktop mode, and even auto-login. This can be done via raspi-config, under “Boot Options” > “Desktop / CLI”.
To change which user the system logs in as, change the lightdm config:
sudo nano /etc/lightdm/lightdm.conf
Edit the autologin-user line to reference the user you wish to automatically log in as.
autologin-user=username
The original script cleaned up and recreated the /etc/X11/xorg.conf.d directory, which did not exist. Thus:
40-libinput.conf file didn’t exist, so it didn’t need to be deleted.The modified commands to run, therefore, are:
sudo mkdir /etc/X11/xorg.conf.d
sudo cp -rf ./usr/99-calibration.conf-35 /etc/X11/xorg.conf.d/99-calibration.conf
sudo cp -rf ./usr/99-fbturbo.conf /usr/share/X11/xorg.conf.d/
In the original script, we check the following:
Does uname -n (network node hostname) return “raspberrypi”? This is incorrectly used to check if we’re running a “Raspberry Pi kernel” (whatever that means). The reason this is wrong is because the user may have changed the hostname. If the hostname doesn’t match, nothing is done. We’ll assume a match, regardless of the hostname.
Next, we check the kernel version using the following:
version=`uname -v`
version=${version%% *}
version=${version#*#}
On my machine, uname -v returns:
#1159 SMP Sun Nov 4 17:50:20 GMT 2018
Resulting in a version of 1159.
Finally, if the version is greater than or equal to 970, we need to install the Xorg evdev input driver, allowing for multiple input devices. This is what will enable using the touchscreen as a second input device.
sudo apt install xserver-xorg-input-evdev
sudo cp -rf /usr/share/X11/xorg.conf.d/{10,45}-evdev.conf
After installing the package, we duplicate one of the Xorg config files related to evdev into the same directory, just with a different number prefix! I’m not sure why this is needed…
And finally, reboot!
sudo reboot
One of the changes in the reference script is to copy over a file into /etc/inittab. This file was used to configure the older sysvinit system, which has since been replaced by systemd.
Not only will this file have no effect anymore, but no part of it is necessary at this point. Simply ignore this part of the script.
# Don't run. See notes above.
# sudo cp ./usr/inittab /etc/
First, remove the dtoverlay=tft35a line from /boot/config.txt.
Next, in /usr/share/X11/xorg.conf.d/99-fbturbo.conf, switch from /dev/fb1 to /dev/fb0 on the following line:
Option "fbdev" "/dev/fb1" # <-- change this to fb0
This is only needed if you set up the X-related functionality above.
Finally, reboot.
With the screen set up, it’s nice that I don’t need to be close to a monitor to work with my Raspberry Pi. Since then, I’ve been experimenting with ways to create a GUI application with as few dependencies as possible. I will document that process as I learn more.
Thanks to Ty Terdan