Jan 23, 2019 • Avik Das
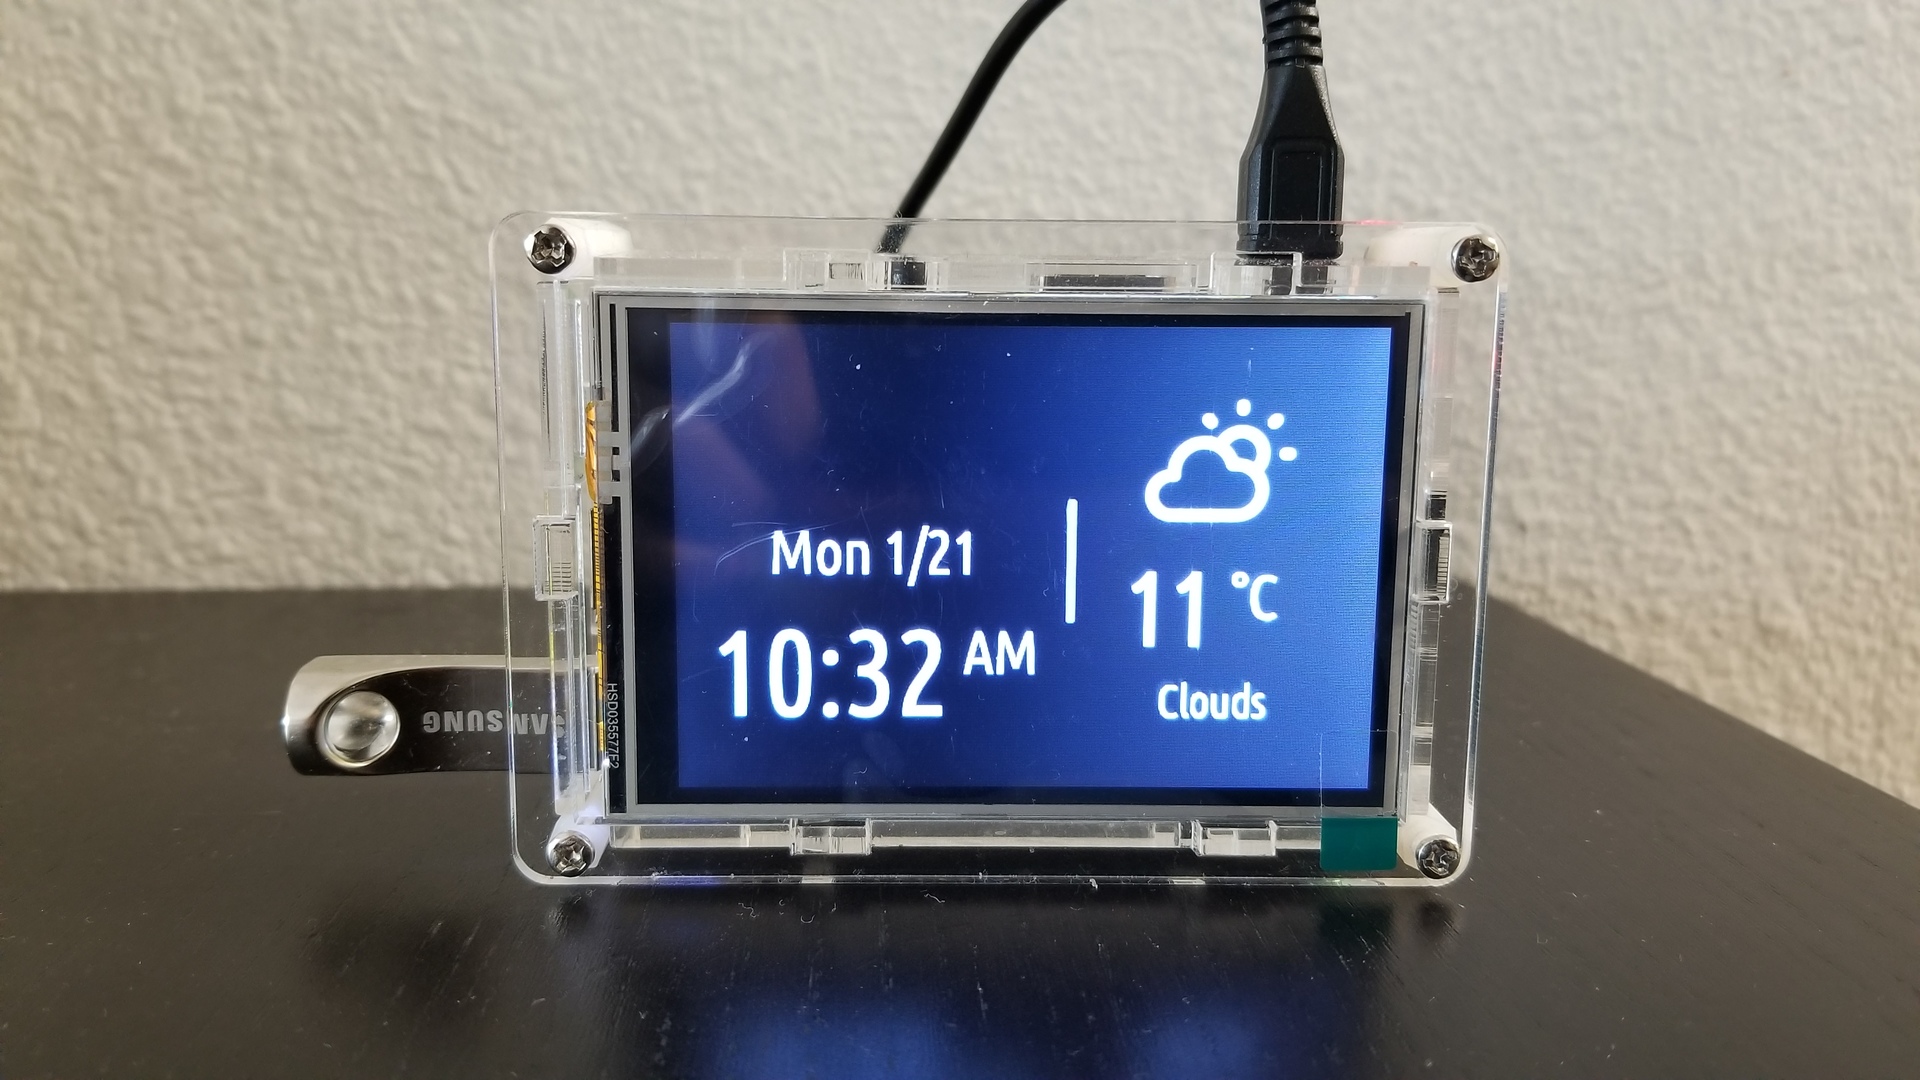
In a previous article, I explained how I set up a TFT LCD screen on my Raspberry Pi. Because I had been previously using my Pi as a headless server, I hadn’t installed a desktop environment. I wanted to add a lightweight heads-up display to the server, and I wanted a graphical application that could operate without X, the usual graphical system on Linux.
Writing such a lightweight application required understanding how to interact more directly with my new screen, the learnings from which I’ll share here. This article is a summary of multiple sources I pieced together.
Linux provides the concept of a framebuffer, a virtual device that can be read from and written to in order to display graphics. The contents of a framebuffer are then typically displayed on a screen.
On a Raspberry Pi, the HDMI output corresponds to Framebuffer 0, represented by the /dev/fb0 file. If you connected your Pi to a regular monitor or TV, or you’re using another type of HDMI-based screen, you can display graphics by writing to this file.
If you have an SPI-based screen and you followed my previous tutorial, then you have a second framebuffer, /dev/fb1. With the fbcon=map:10 setting from the tutorial, your console is set to display on Framebuffer 1, which is what shows the console on your LCD screen.
In this section, we will configure the framebuffers to allow for some convenient functionality. Don’t follow these instructions blindly. The goal is to understand what tools are available to you so you can use the ones that make sense for your application.
First, it’s possible the console is not displaying at the right resolution, in which case we can force a particular resolution. In /boot/config.txt, change the following values, which may need to be uncommented. Choose the right resolution for your screen.
framebuffer_width=480
framebuffer_height=320
Next, we will also force the HDMI output to display at the same resolution as the LCD screen. My current understanding is that Framebuffer 0 is the only one that can take advantage of hardware acceleration, so we’ll typically want to display to this framebuffer, then copy the output over to Framebuffer 1. To do so, we want the resolutions to match.
In /boot/config.txt, we create a custom HDMI mode and set the resolution. Again, choose the right resolution for your screen. I like to leave an explanatory comment in the configuration file for my own benefit.
# There are two framebuffers when the LCD is attached:
#
# - /dev/fb0 - represents the HDMI output. This output is hardware-accelerated,
#   and therefore should be the target of GUIs.
# - /dev/fb1 - represents the LCD output.
#
# The following settings enable a custom mode (mode 87) that sets the HDMI
# output to the same resolution as the LCD. This is useful so an application
# can target the hardware-accelerated output, and the raspi2fb tool can be used
# to mirror the output to the LCD.
#
# The HDMI group forces DMT output even on the HDMI output. DMT is the standard
# for monitors, in contrast to CEA, the standard for TVs.
hdmi_cvt 480 320 60 1 0 0 0
hdmi_mode=87
hdmi_group=2
Note that you definitely don’t want to do this if you want to display on both the LCD screen and an external monitor at the same time, at different resolutions.
Regardless of how you’ve set up your framebuffers, displaying graphics on a framebuffer works the same way. This section describes the low-level interface that you would use. If you’re not comfortable with languages like C, or with systems-level programming, feel free to skip this section as there are libraries that abstract over the low-level interfaces. However, if you are comfortable with these topics, understanding this section will help shed light on what those libraries do.
The steps to displaying graphics on a framebuffer are:
Open the /dev/fbX file corresponding to the display you want to use.
Use ioctl, which is a Linux system call that allows communication with certain devices, to retrieve information about the framebuffer. The way to do this is device-specific, but framebuffers allow retrieving information such as the width and height.
Write bytes to the file. The exact sequence of bytes depends on the color depth of the framebuffer.
There’s a fantastic guide to using the framebuffer, which I highly recommend looking through. When following the examples, I had to keep a few pieces of information in mind:
To access the framebuffer, you’ll have to run as root. This is not desirable and we can relax this requirement, but for now, use sudo to run the code examples. I will discuss alternatives in the next section.
The guide assumes you’re displaying to /dev/fb0. Because I’m using an SPI-based screen, I actually wanted to display to /dev/fb1, so I changed the code examples accordingly.
The color depth of a framebuffer will depend on the screen you’re using, but generally, the HDMI output (/dev/fb0) will operate at 32bpp (bits per pixel), whereas many (all?) SPI screens will operate at 16bpp.
In the next section, I’ll talk about mirroring one framebuffer onto the other. This does not change the color depth of each framebuffer, even if the two are different. Any conversion happens during the mirroring.
If you’re running a console on the same framebuffer, you’ll find the text cursor displays over whatever you’ve painted. This is because the console is also updating the framebuffer, and in particular, it’s updating the framebuffer periodically. So, if you paint something to the screen, the console application will overwrite just the part of memory where the cursor is meant to appear.
It is possible to disable the cursor, though if you want to restore the cursor when exiting your application, you have to keep your application running until you’re ready to relinquish control. I haven’t yet figured out how to disable the cursor, but other framebuffer applications do this all the time.
This section only applies if you’re using an SPI-based screen, and therefore if you have multiple framebuffers.
Just like the framebuffer application above can target either framebuffer available on the system, many applications that display on a framebuffer can be configured to use either framebuffer. However, the library I’ll introduce in the next section recommends letting the library target fb0 (the HDMI one), then mirroring the contents to fb1 (the SPI one).
raspi2fb is a program that mirrors the Raspberry Pi display (essentially fb0) to another framebuffer. I followed the instructions in the README to build the program, but I didn’t use make install to install the program globally and run it as a service. Instead, I put the binary in a place where I could access it, and I run the program manually. This allows me to control exactly when I want to use the mirroring and when I don’t.
Note that this is where setting the HDMI output to the same resolution as the SPI screen is crucial. Otherwise, raspi2fb will downscale the native 1920×1080 resolution down to the tiny SPI screen’s resolution, distorting the final image.
If you try to run raspi2fb, you’ll encounter a permissions error (unfortunately, I don’t remember the exact text of the error anymore). The reason is because the current user doesn’t have permissions to interact with the framebuffer. To see this, we can look at the owner and group for the framebuffer files:
$ ls -l /dev/fb*
crw-rw---- 1 root video 29, 0 Jan  1 22:48 /dev/fb0
crw-rw---- 1 root video 29, 1 Jan 13 21:52 /dev/fb1
The files are owned by root, so it would make sense to run any framebuffer-based applications using sudo. However, this is a security concern, as you don’t want your application running as root! Luckily, the group for the framebuffer files is video, so all you have do is add your user to that group. Here’s an example for my user:
usermod -a -G video avik
Now you can run raspi2fb without root permissions.
As I mentioned above, if you followed my previous guide to set up your SPI-based screen, you configured your system to display your console to fb1, your SPI screen. The problem is when raspi2fb mirrors the HDMI screen to fb1, both the console and raspi2fb (and therefore whatever is running on the HDMI screen) are updating the same framebuffer. This causes the text cursor to appear on the screen.
A framebuffer-aware application should disable the text cursor, but it can only do so if the console is displaying to the same framebuffer as the application. But, if the application is displaying to fb0 and the console to fb1, the text cursor remains. The solution is to display the console on fb0, along with the application.
You can do this by editing your /boot/cmdline.txt, but I wanted to only switch the output of the console when running raspi2fb. Luckily, you can switch the console display while the system is running using con2fbmap. So, you might do the following:
con2fbmap 1 0  # switch the console to display on fb0
raspi2fb       # mirror fb0 to fb1

# In a separate window or SSH session, run an application that displays to fb0.
# After the application finishes, stop raspi2fb, then:
con2fbmap 1 1  # switch the console back to fb1
Note, con2fbmap also requires access to the framebuffer, so again, either you need to run it as root, or you need to be part of the video group.
Instead of writing your own code to push bytes into the framebuffer, we can use a high-level library. Raylib seems like the best option, because it has a number of advantages:
Raylib is available on multiple platforms. This means I can develop an application on my laptop, rendering to an on-screen window, then deploy that application on my Raspberry Pi with no changes.
There are no external dependencies. That makes it easy to compile on the Raspberry Pi, as well as understand the library code itself, since the library is very self-contained.
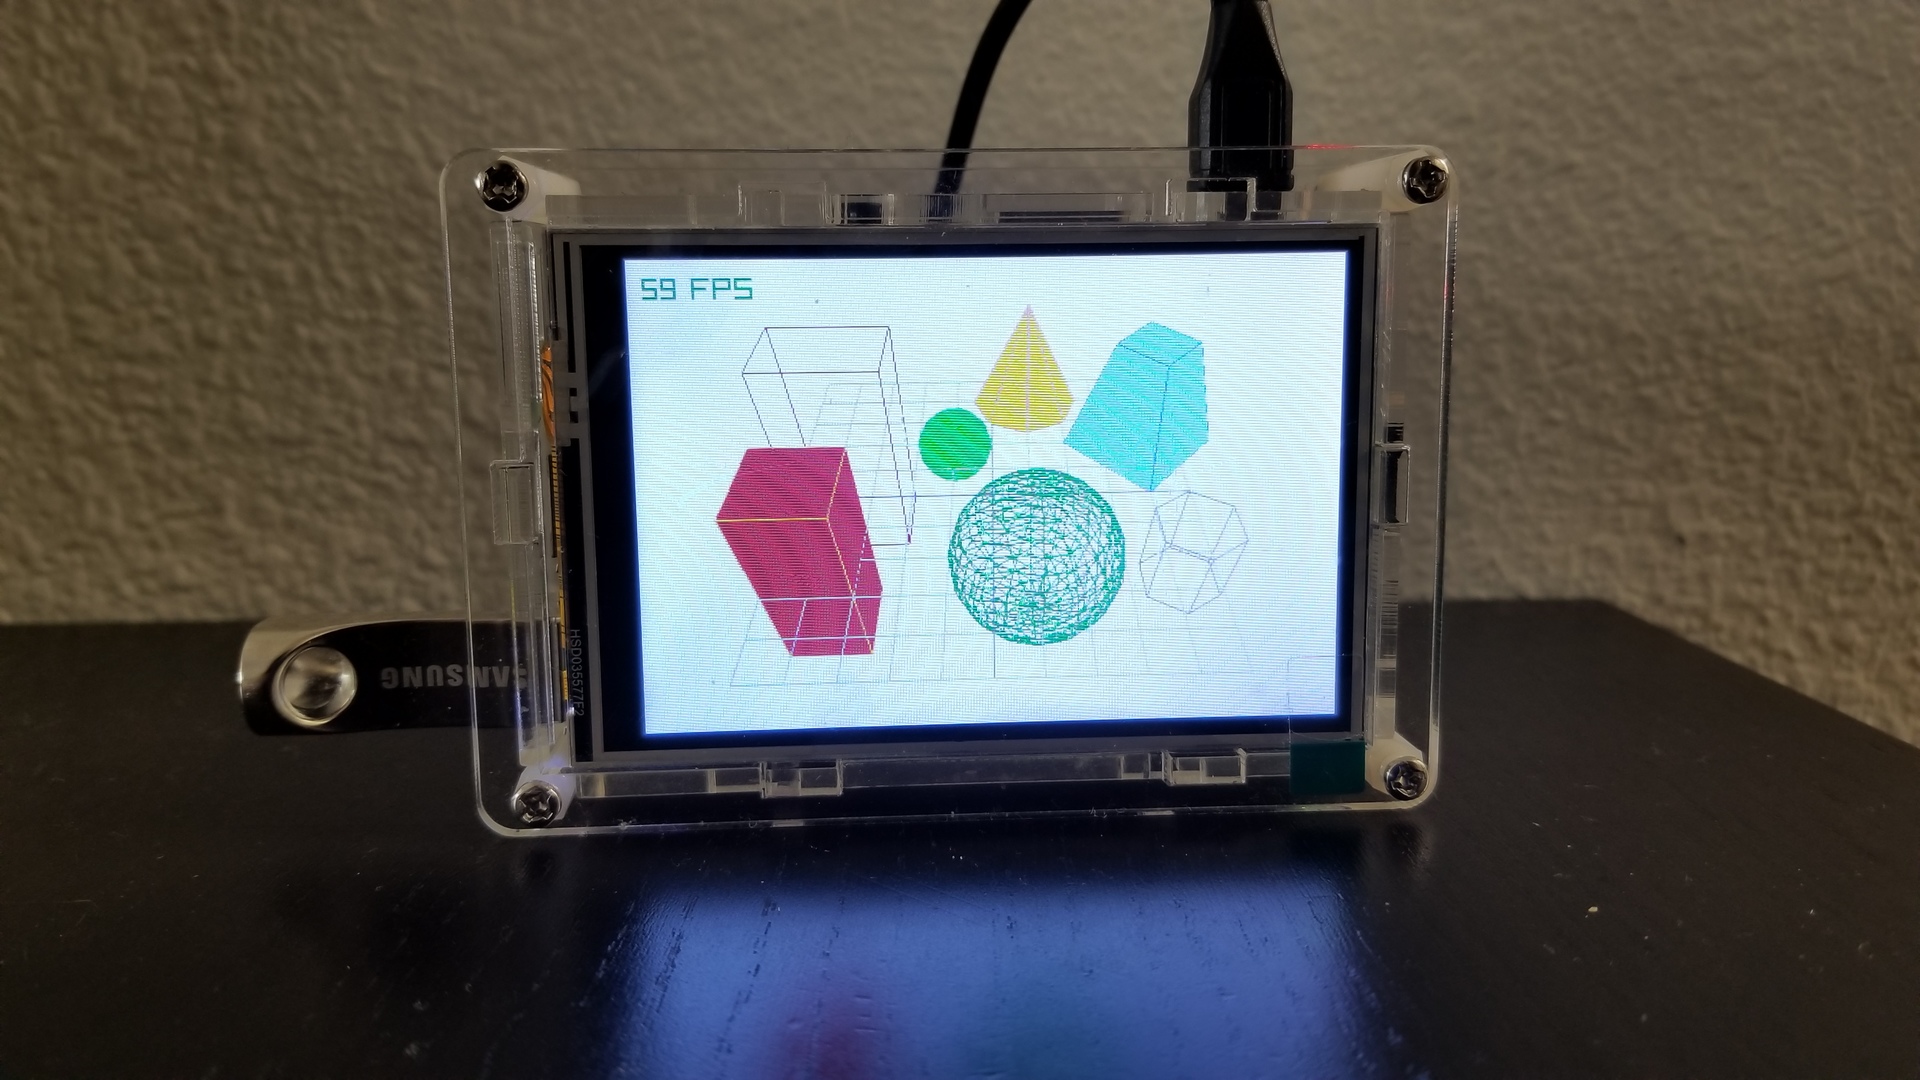
Raylib is hardware accelerated, allowing for great performance.
Raylib contains functionality, like text rendering support, that I would have had to develop myself.
The Raylib wiki has many resources on how to work with Raylib, including the relevant page on building the library on the Raspberry Pi.
Because we want to build applications without X, you’ll want to build the library using OpenGL ES 2.0 in native mode, meaning using the PLATFORM=PLATFORM_RPI flag. (To build on your main computer for testing, you can just use make without any flags.)
Note that the bundled examples assume a certain screen size. I had to modify the example source code slightly to work with the smaller screen.
By default, Raylib uses a “busy-wait” loop. That means, after your application has finished rendering, for the rest of the frame, Raylib continually checks if enough time has elapsed for the next frame to begin. This causes high CPU usage, 100% of one core.
In multiple Github issues, the author mentions there is now support for “sleep”-based waiting. With this implementation, the library sets a timer and asks the OS to wake up the application after a certain amount of time.
The caveat is that this implementation is not the default, and you have to comment out one line and rebuild the library:
// In raylib/src/config.c - comment out line that says:
#define SUPPORT_BUSY_WAIT_LOOP
(I’m not sure, but it’s possible, if you’re using CMake instead of Make, you might need to make this change in src/config.c.in.)
With this change, I find my applications take 1-3% CPU usage, if I’m not performing any intensive computations myself.
If you look at the Makefile used to build the Raylib example applications, you’ll find many platform-specific options. Because Raylib supports so many platforms, the Makefile is fairly large.
When building your own application, you need to specify a few options. Because I didn’t run any make install type of command when building Raylib, the necessary files from the library are present inside the directory where I download Raylib.
I started with the official Makefile, then removed any platform support I didn’t need. This left me with the following necessary options.
First, we define some compiler flags:
-std=c99: defines C language mode (standard C from 1999 revision)-D_DEFAULT_SOURCE: use with -std=c99 on Linux, required for timespec, which is used for timing-related functionality.CFLAGS = -std=c99 -D_DEFAULT_SOURCE
Next, we need to tell the compiler where to find the Raylib header files that define the data structures and functions that make up the library. Here, RAYLIB_PATH refers to where you downloaded Raylib.
INCLUDE_PATHS = -isystem$RAYLIB_PATH/src \
                -isystem$RAYLIB_PATH/src/external

# On Raspberry Pi, you also need to specify where to find some header files
# that are in different locations. These header files are used by Raylib.
INCLUDE_PATHS += -I/opt/vc/include
INCLUDE_PATHS += -I/opt/vc/include/interface/vmcs_host/linux
INCLUDE_PATHS += -I/opt/vc/include/interface/vcos/pthreads
Then, we need to tell the compiler where to find the compiled library. If you look within the src directory in the Raylib distribution, you’ll find that building the library has created a libraylib.a file. That’s the file we’ll be linking against.
Additional dependent libraries differ from platform to platform. For example, on desktop Linux, we are using X, but that’s not the case on the Raspberry Pi.
# Tell the compiler where to find libraylib.a
LDFLAGS = -L$RAYLIB_PATH/src
LDFLAGS += -L/opt/vc/lib  # needed on Raspberry Pi

# On Desktop Linux
LDLIBS = -lraylib -lm -lpthread -ldl -lrt -lX11

# On Raspberry Pi
LDLIBS = -lraylib -lbrcmGLESv2 -lbrcmEGL -lpthread -lrt -lm -lbcm_host -ldl
Now, you can invoke the compiler:
gcc -o app app.c $CFLAGS $INCLUDE_PATHS $LDFLAGS $LDLIBS
In practice, I specify more flags, like -Wall to emit more warnings, but above is the bare minimum.
The last piece, if you have a touchscreen, is to calibrate the touchscreen and feed the correct input events into Raylib.
The basic approach is to use the tslib library to take the raw touch events, transform them based on some filters and calibration settings, then create a new touch event stream that Raylib can read from. I have not been able to get this approach working, because nothing past the first touch event is registered by Raylib as a mouse click. I’ll have to investigate further.
Raylib provides comprehensive on how to integrate with tslib. Unfortunately, the documentation seems to be a little out of date, so I’ll explain what’s different.
Before we begin, note that tslib operates on the /dev/input/eventX files, which like the framebuffer files, are used to interact with the touch-enabled device. Like the framebuffer files, to work with the touch event files, we need the necessary permissions:
$ ls -l /dev/input/event*
crw-rw---- 1 root input 13, 64 Jan  1 22:48 /dev/input/event0
Note the input group, so we’ll add the current use to that group. Again, for me:
usermod -a -G input avik
Next, tslib is available in the Rasbian package repositories, but the version is too old for our needs. So, we need to build it from source:
sudo apt install automake libtool
git clone git://github.com/kergoth/tslib.git
cd tslib
./autogen.sh
./configure
make
sudo make install
Finally, we need to calibrate the touchscreen, test it and create a new event stream that Raylib can read from. I found these commands needed to be altered slightly from the ones in the linked guide above.
# Calibrate
sudo \
    LD_LIBRARY_PATH=/usr/local/lib \
    TSLIB_FBDEVICE=/dev/fb1 \
    TSLIB_TSDEVICE=/dev/input/event0 \
    TSLIB_CALIBFILE=/etc/pointercal \
    TSLIB_CONFFILE=/etc/ts.conf \
    TSLIB_PLUGINDIR=/usr/local/lib/ts \
    ts_calibrate

# Test
sudo \
    LD_LIBRARY_PATH=/usr/local/lib \
    TSLIB_FBDEVICE=/dev/fb1 \
    TSLIB_TSDEVICE=/dev/input/event0 \
    TSLIB_CALIBFILE=/etc/pointercal \
    TSLIB_CONFFILE=/etc/ts.conf \
    TSLIB_PLUGINDIR=/usr/local/lib/ts \
    ts_test

# Create new event stream
sudo \
    LD_LIBRARY_PATH=/usr/local/lib \
    TSLIB_FBDEVICE=/dev/fb1 \
    TSLIB_TSDEVICE=/dev/input/event0 \
    TSLIB_CALIBFILE=/etc/pointercal \
    TSLIB_CONFFILE=/etc/ts.conf \
    TSLIB_PLUGINDIR=/usr/local/lib/ts \
    ts_uinput -v
The last command will create a new /dev/input/eventX file with a larger number than the existing ones. Raylib is already set up to read from the highest numbered file, and starting up a Raylib application will start reading from the correct event stream.
You can also include the -d parameter when running the last command to run it in daemon mode, in the background.
There’s a ton more to do. I’m going to investigate higher-level language bindings for Raylib, so I don’t have to write my application in C. I want to add weather forecasts to my application, and I’ll publish the code for my application on my Github.
Being able to create a lightweight application on top of my existing server makes me feel comfortable I’m not wasting too many resources on my Raspberry Pi. While this may be mostly a theoretical concern, the resulting knowledge I’ve gained from this exercise has helped me understand more about my new screen, and about Linux in general.
Thanks to: