Aug 21, 2023 • Avik Das
This blog started at the end of 2018 as a way to document how I set up my Raspberry Pi. Some time ago, the Pi finally broke down, and I’ve had terrible luck with Micro SD card corruption. After a few unsuccessful attempts to get the Pi running again, I picked up a used Dell OptiPlex 7040 Micro. Here are my notes on getting this server set up, since I’ve learned a thing or two in the last 4.5 years. Most are notes for myself.
Today’s post will cover getting the server hardware set up and Linux installed. I’ll cover more about the home server capabilities in later posts.
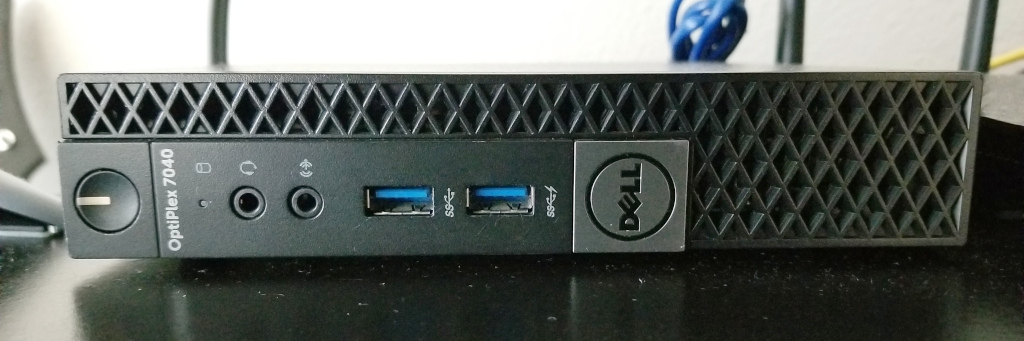
As mentioned above, I’m using a Dell OptiPlex 7040 Micro because that’s what I found on Craigslist. Given that I was happy with a Raspberry Pi 3B+ in the past, this system is overkill. But, it is nice having a modular, upgradeable system compared to a System on a Chip (SoC).
To that point, I picked up a 1TB 2.5” SATA SSD to swap into the system, and I installed an older 512GB M.2 NVMe SSD I had lying around (it was one I thought had died, so I had replaced it on a different machine, but it turned out to be working fine). I’m using the NVMe drive for the OS installation and /home partition, and the SATA drive for the actual storage. For example, I installed Immich to back up my photos, and I’m using the SATA drive for storing the photos.
It’s nice to have these types of hardware slots inside the small form factor, compared to using a USB drive sticking out of my Raspberry Pi.
The Dell OptiPlex 7040 does support wireless, namely WiFi and Bluetooth, but the unit I picked up didn’t have the necessary hardware installed. I did some research on installing an M.2 wireless module. Ultimately, it’s not that important to me because I placed the machine near my router with an ethernet connection, so I passed on adding this hardware.
Having started my Linux journey with Ubuntu, I now run Debian on my personal laptop. I went with Debian for the server as well. The newest stable release, Bookworm, recently came out, so I’m okay with stable for now and will update to testing if I feel anything has gotten too old.
I didn’t install a graphical desktop environment because I wanted the machine to be a headless server. I configured an SSH server during installation, so I can remotely log into my server. Just as importantly, I didn’t configure a web server. Debian’s default is to use Apache, and I prefer to use Caddy or Nginx for my relatively meager needs.
Overall, installing Debian with the graphical installer was straightforward, but there were a few additional things I needed to do.
It seems there’s a bug with the EFI firmware on the OptiPlex specifically related to the NVMe drives (everything worked out of the box when I initially installed Debian on the original SATA drive). Basically, Debian puts its EFI binary in /boot/efi/EFI/debian/grubx64.efi. Even after going into the boot settings on the machine and changing the EFI binary path, the machine seemed to be looking in a default location of /boot/efi/EFI/boot/bootx64.efi, causing the machine to think there was no installed OS.
Fixing that was simple once I figured out the issue, with the following steps.
Start up the Debian graphic installer and open a terminal session. When prompted, mount /dev/nvme0n1p1 as that’s the boot partition. Then, copy over the EFI binary from the original location to where the machine expects it:
cd /boot/efi/EFI
mkdir boot
cp debian/grubx64.efi boot/bootx64.efi
Reboot, and Grub should start right up.
I didn’t want to keep switching to a root user for all my administration, so I set up sudo:
avik$ su -
root# apt install sudo
root# usermod -aG sudo avik
Again, this is mostly for myself, and it’s pretty much the same software I make sure to install on any Debian machine I own:
sudo apt install command-not-found tmux
sudo apt install vim
sudo apt install curl git

sudo apt update  # generate command-not-found index
Also, adding export EDITOR=vim to my .bashrc ensured that sudoedit (to edit files as root without running your editor as root) uses Vim.
As I’ll talk about in a later post, I will mostly use containers to run software. But historically I’ve used asdf and some plugins for node.js, Ruby and Python. I installed those too, probably out of habit.
When I install Debian, I always separate the /home partition. If I do this during a new install, then the installer can set up the system to automatically mount the right partition as my /home directory. If I want to preserve an existing /home partition, I’d have to set up the auto-mounting myself.
Either way, I also wanted to auto-mount the SATA storage drive. First, I had to decide which file system to use for the storage drive, and I went with Ext4 for simplicity. I would have enjoyed trying ZFS, but without native support in Linux (that I could find), I stuck with whatever was well supported:
sudo fdisk -l  # find the device for the drive
sudo mkfs -t ext4 /dev/sda1  # format that device
Now to automount the drive (and these steps generally apply for a /home partition as well):
sudo mkdir /mnt/storage  # create the mount point

sudo blkid  # figure out the UUID of the drive
sudoedit /etc/fstab  # see below for what to add
sudo systemctl daemon-reload  # pick up changes to /etc/fstab
sudo mount -a  # mount!
When editing /etc/fstab, add the following line:
# UUID is based on the output of blkid
# dump=0 - I'm not sure what exactly this does
# pass=2 - `man fstab` says use "2" for non-root filesystems
UUID=...  /mnt/storage  ext4  0  2
EDIT (Sep 5, 2023): I got a suggestion about an alternate way to identify disks in /etc/fstab, which took me down a rabbit hole. Here’s what I found:
Firstly, this was something I already knew, but you don’t want to use device identifiers like /dev/sda1. There’s no guarantee these will stay the same across boots. That’s why I used the UUID. The UUID is stable, at least until reformatting.
The suggestion was to use the paths inside of /dev/disk/by-id. These are symlinks to files like /dev/sda1, but the filenames are human readable. For example, instead of a UUID like I’m using, my SATA SSD partion would be named ata-INTEL_SSDSC2KB960G8_BTYF92160AB7960CGN-part1. Definitely nicer! This seems like the way to go, and I’ll try it out in the future.
As always, the Arch wiki is fantastic, even for non-Arch users. Note that this wiki page doesn’t talk about the approach mentioned above, but the forums sure discuss it at length!
With all these changes above, I now have a running Debian server that I can start playing around with. Next up is how I installed the right software to make the server useful!
Thanks to Israel Jacquez